The planking stage is great fun. Really!
Build-A-Bear, mountain-style canoe
Collapse
This topic is closed.
X
X
-
Re: Build-A-Bear, mountain-style canoe
You see the shape start to come to life. It's awesome. Though, glassing brings out the colour and that's cool too. And who can forget taking it off the molds? There's a milestone then there's...... Never mind. Planking's fun! If one advances confidently in the direction of his dreams, and endeavors to live the life which he has imagined, he will meet with a success unexpected in common hours.
-Henry David Thoreau-Comment
-
Re: Build-A-Bear, mountain-style canoe
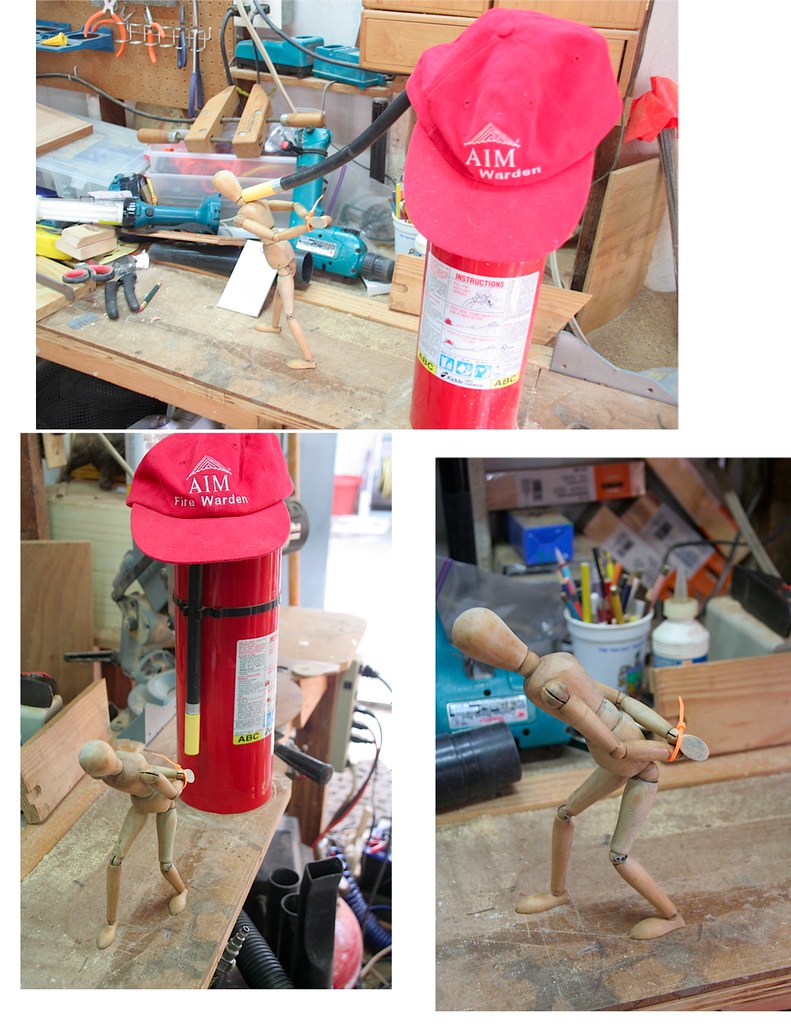
So, you go outta town for a day or two and the whole shop falls apart. When I got back from vacation, it was clear that Andy had gotten into the wood alcohol and invited the neighborhood over for a party. Here are a few scenes downloaded from the security cams:
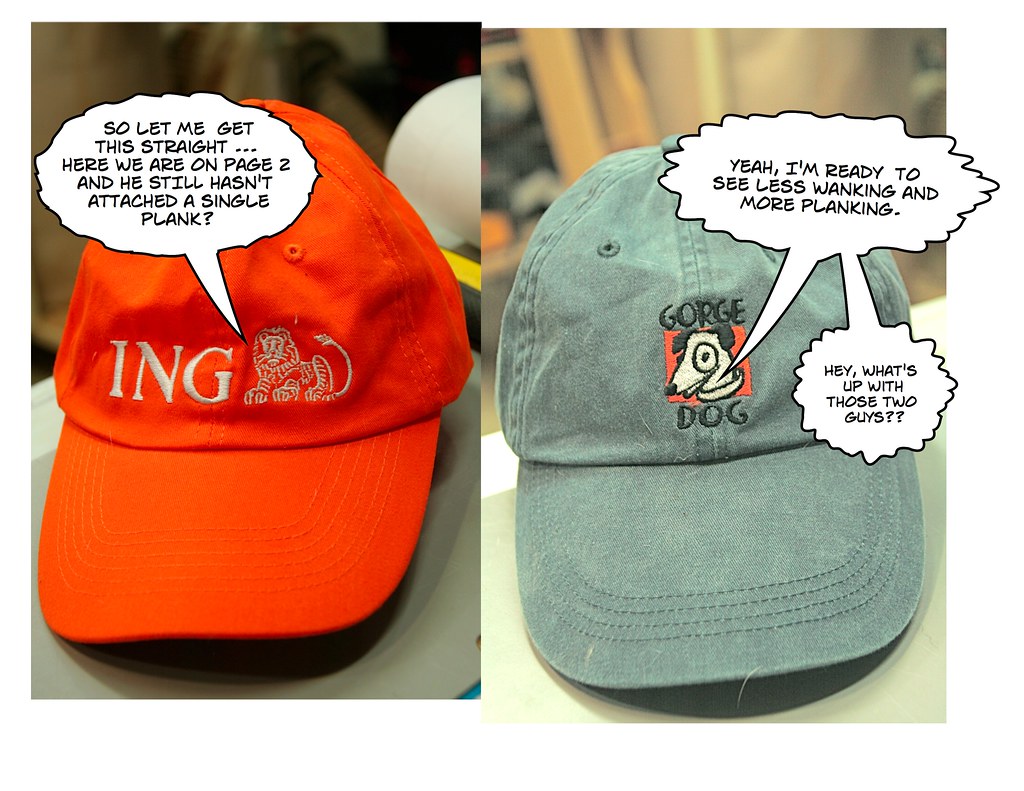

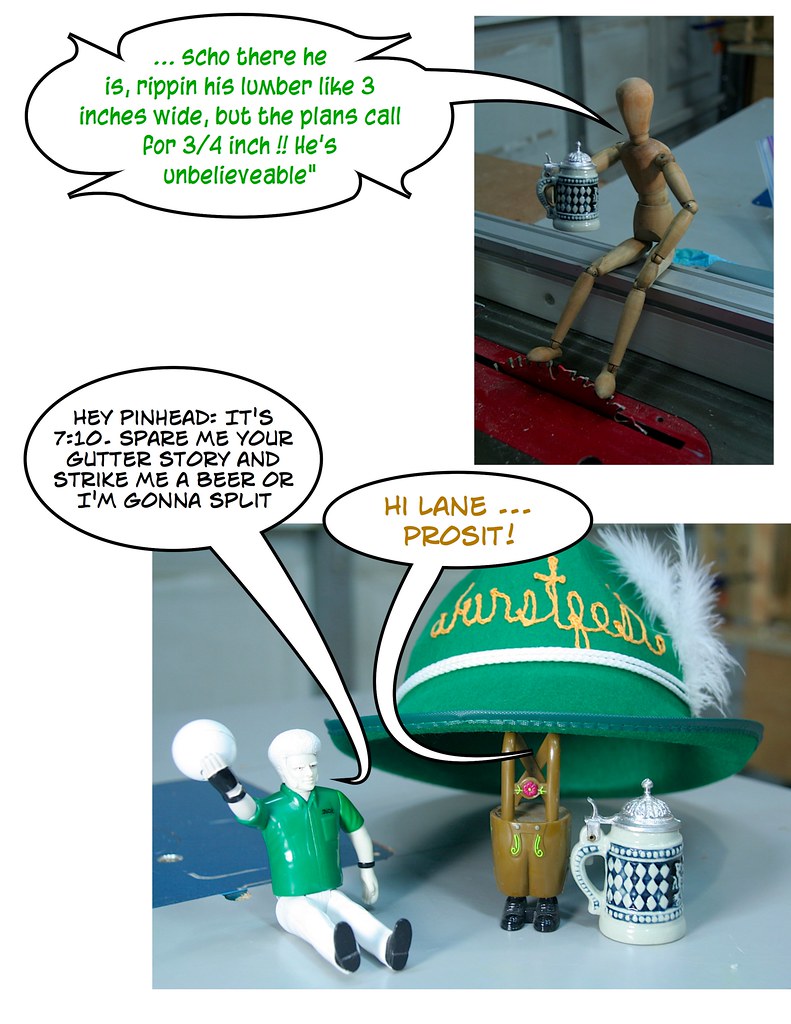
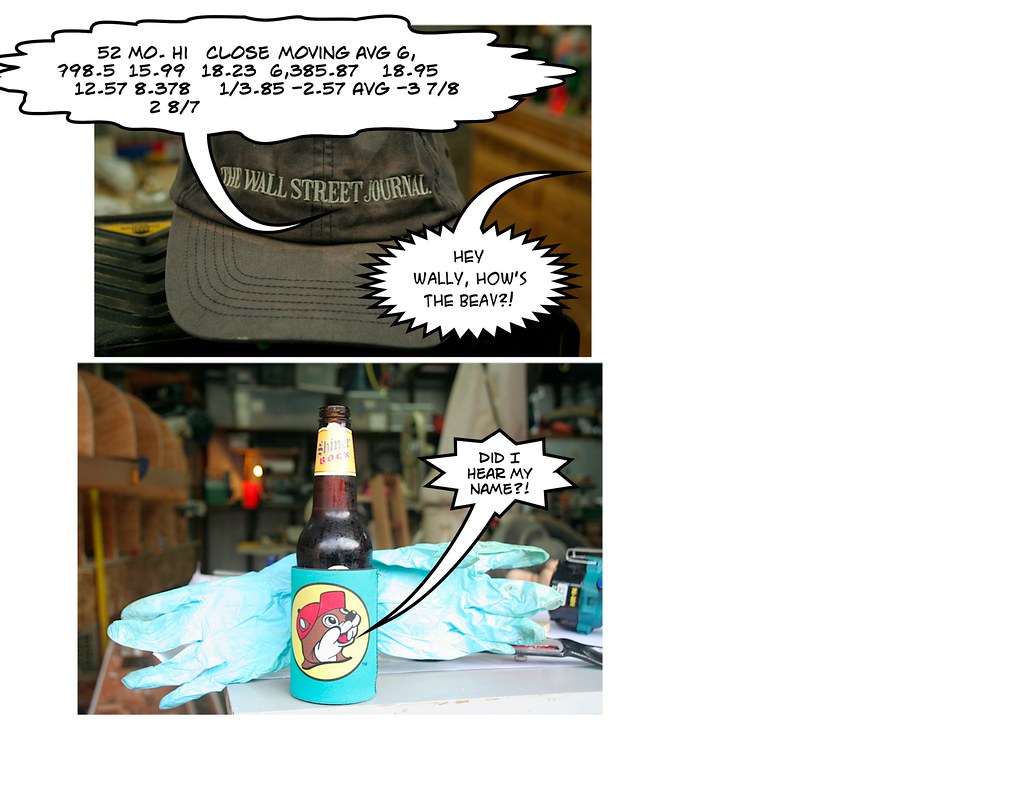
... and it didn't end there ...
“It doesn’t matter how slowly you go -- so long as you do not stop.”
-ConfuciusComment
-
Re: Build-A-Bear, mountain-style canoe
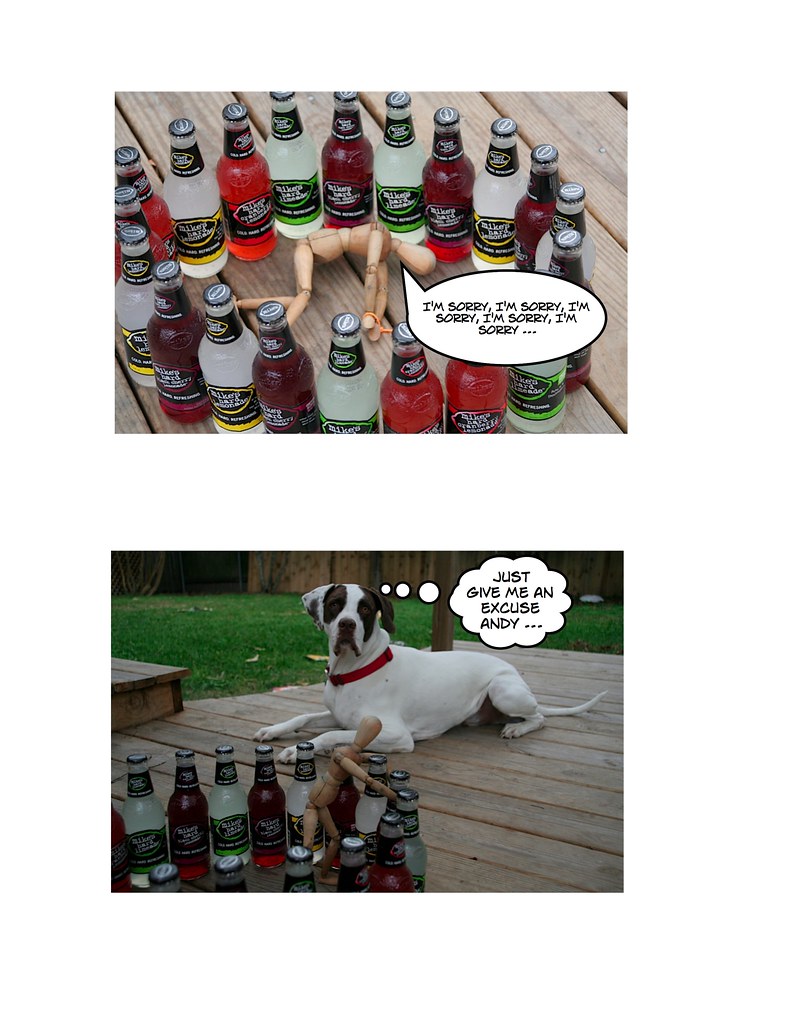
... Andy's wood alcohol adventures, continued ...

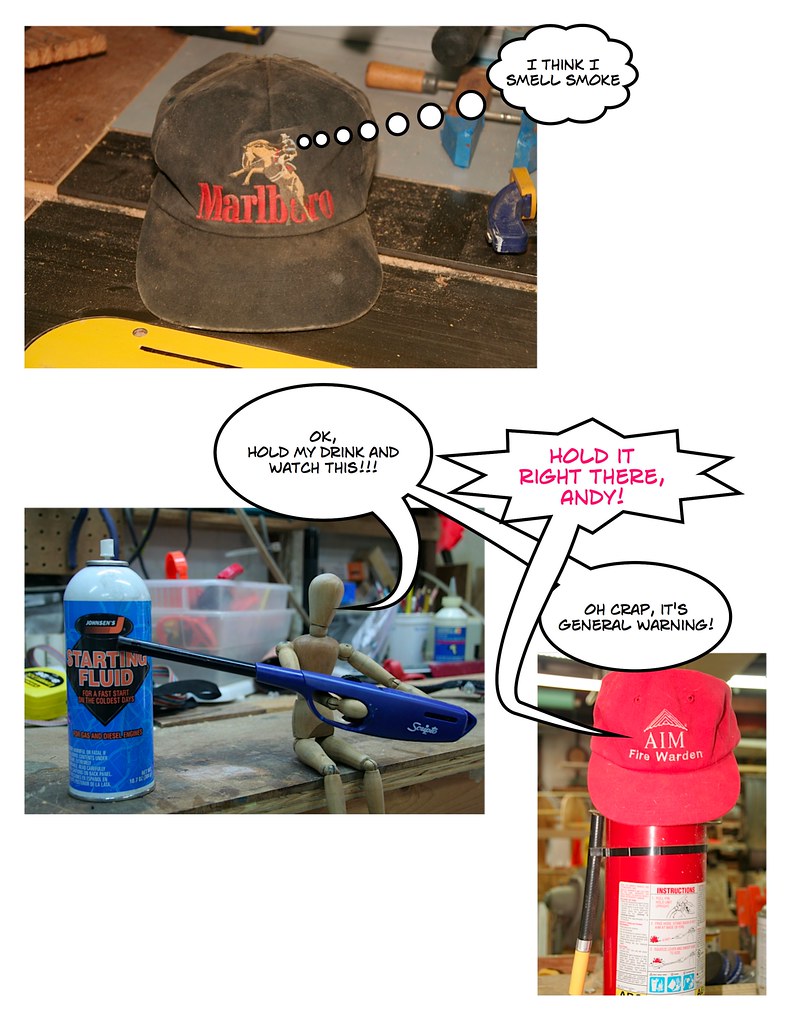
Thank God my nosy neighbor heard the commotion and called up the retired General Warning!
... and when I got home, the juvenile was delinquent and was doing a little Mike's Hard Time!
But I have made a little progress since cleaning up Andy's mess!!“It doesn’t matter how slowly you go -- so long as you do not stop.”
-ConfuciusComment
-
Re: Build-A-Bear, mountain-style canoe
LOL, you waste even more time than Tenner. If going by his time wasting versus productivity graph, you should be done your whole build by next month. He seems to waste plenty of time yet still manages to make lots of sawdust hence lots of progress. If you waste even more time, you should make even more sawdust and even more progress right?If one advances confidently in the direction of his dreams, and endeavors to live the life which he has imagined, he will meet with a success unexpected in common hours.
-Henry David Thoreau-Comment
-
Re: Build-A-Bear, mountain-style canoe
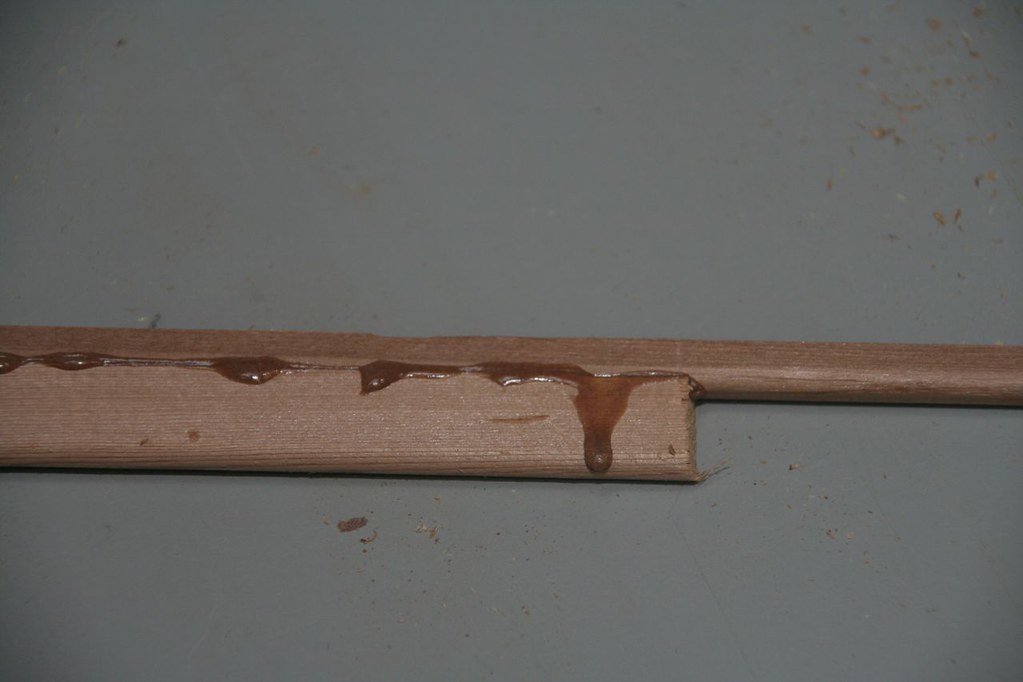
I spent all last weekend machining the bead & cove edges and was determined to start planking this weekend. I thought about the project all week and made a couple of significant decisions: First is glue. I was really intrigued by what Todd Bradshaw had to say about Weldwood plastic resin powder glue (in Fitz’s Nymph canoe thread). I found a 1lb. container at a little Houston hardware store that seems to carry EVERYTHING (Southland Hardware) as opposed to the other stores that carry only the standard fare.
So I did some experimenting and for the most part, I really like it. I like the way that it blends in with my western red cedar, I like the way that it sands (Titebond does tend to gum up), and I like that I can vary the batch for filling gaps vs. adhesion. I’m not crazy about clean up. The little glue brushes I use don’t wash out easily with water like they do w/ Titebond. But the brushes are cheap, so I’ll live with it.
My second big decision is to use staples. As Fitz said, it’s a canoe, not a piano. And considering this is my first boat-type project, this canoe will be riddled with mistakes, so who am I kidding?
I fretted quite a bit about the first strip, mostly because it wasn’t one strip, but two: As I’ve mentioned before, my strips are all 12 feet max, and my canoe is 16, so virtually every plank will have a joint. I call it a scarf, but these will all be butt joints. Again, there’s no point in me trying to dress up and hide these joints.
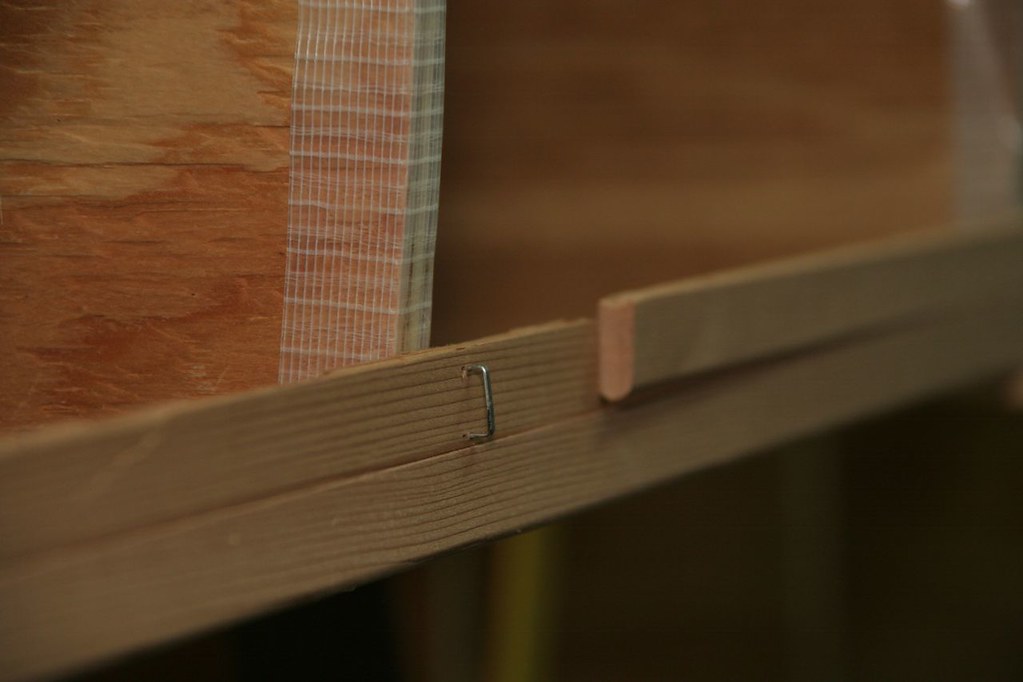
So I got the first one stapled on, one on each side.
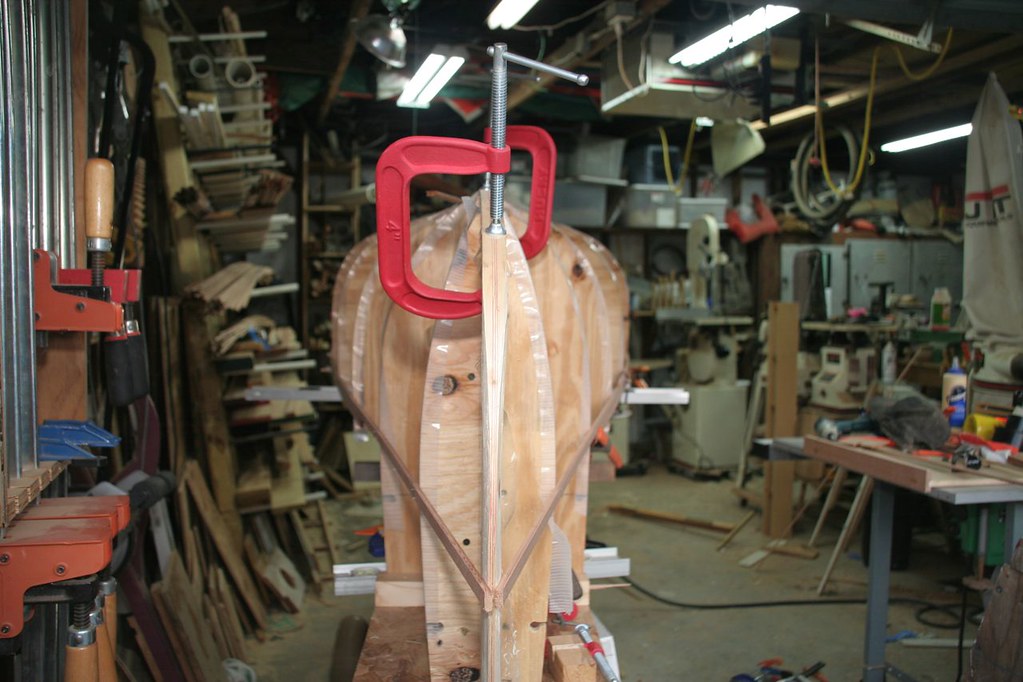
Then came the real commitment: gluing on the second strip. But it went as well as I could expect and I successfully proceeded with a third strip on each side, and that’s where it stands tonight. I’m pretty excited to reach this little milestone. I know--my milestones, like my gronicles, are very small!
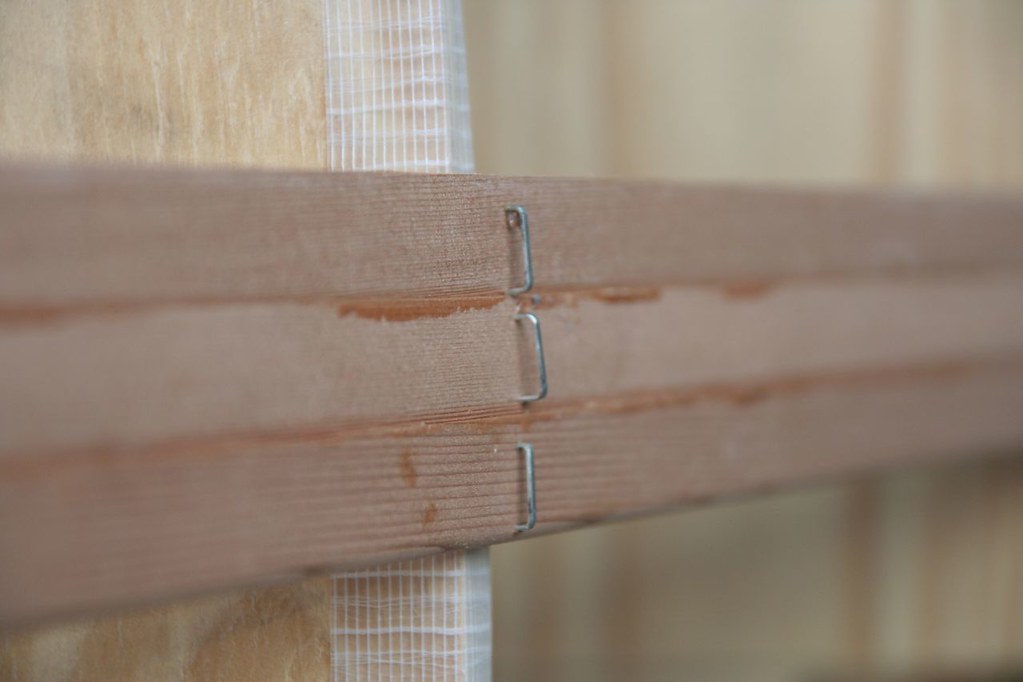
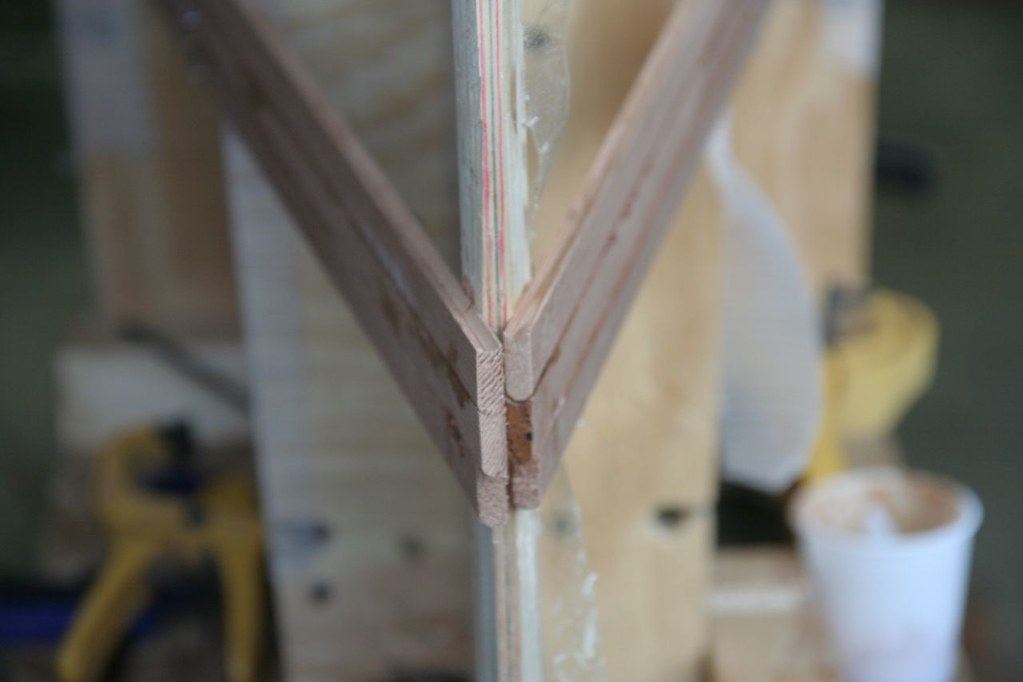
So the fun continues!! ( oh wait, I hate fun).
“It doesn’t matter how slowly you go -- so long as you do not stop.”
-ConfuciusComment
-
Re: Build-A-Bear, mountain-style canoe
To be perfectly honest, the canoe is just an excuse I use to justify garage time to my wife. I have to show some fractional progress once in a while or she gets suspicious!LOL, you waste even more time than Tenner. If going by his time wasting versus productivity graph, you should be done your whole build by next month. He seems to waste plenty of time yet still manages to make lots of sawdust hence lots of progress. If you waste even more time, you should make even more sawdust and even more progress right?“It doesn’t matter how slowly you go -- so long as you do not stop.”
-ConfuciusComment
-
Re: Build-A-Bear, mountain-style canoe
Woo Hoo! Nice progress.
Man, I thought cats in the shop were bad, but you have a party goin' on!
I manage about 3 or 4 strips a session. I am within about a dozen of buttoning up the hull. I should be dealing with the bottom and trimming to the centerline soon.
If you have not found canoez's blog already, here it is.
Lots of helpful tips imbedded there."Wherever there is a channel for water, there is a road for the canoe. " - ThoreauComment
-
Re: Build-A-Bear, mountain-style canoe
- same with mine: I wanted to hire a professional stripper to help with my canoe but she said no way! At least you got Andy ...Comment
-
Re: Build-A-Bear, mountain-style canoe
So I’m still making progress planking, at a snail’s pace. But that’s not why I’m posting tonight. I’ve reached the point where I think I am ready to install an accent stripe, and I need advice/opinions. So far, I haven’t found much in the way of instructions on accent strips (Canoecraft, InterWeb, etc.), so I’m turning to you.
I started with the idea of an arrow design, like so:
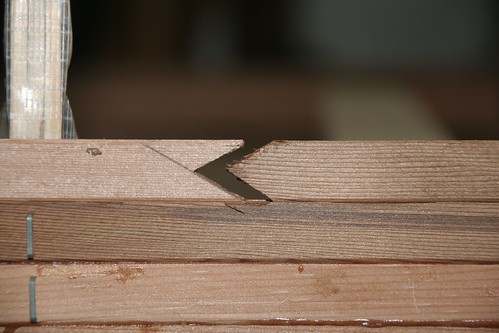
(note: these are scrap pieces for experimentation purposes. Actual pieces will be white pine and mahogany) But clearly, I would need to build some sort of jig because my lame attempts didn’t line up well:
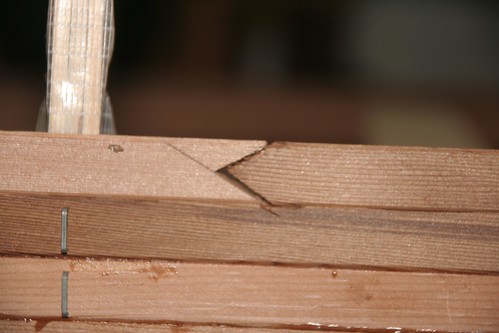
I decided to dumb it down to my level of skill, and simply cut 6” strips at 30-degree angles:
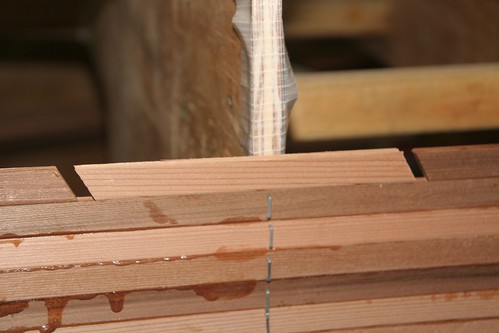
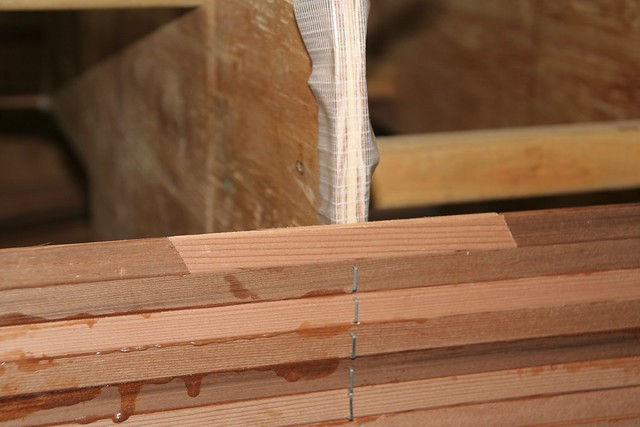
I experimented cutting them on the bandsaw, the table saw, and finally, the compound miter saw, which seemed to work best because I could cut several at a time.
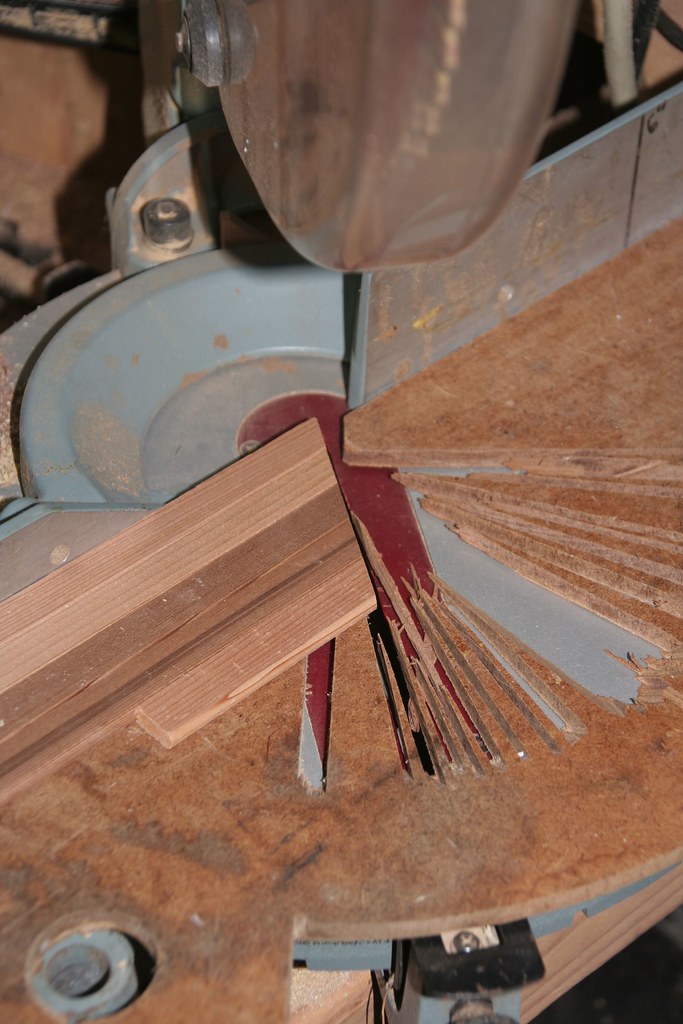
My plan is, after cutting all the pieces (which will be white pine and mahogany), I will lay down a bead of glue, drop in each piece and slather each end w/ glue, then quickly follow with another strip above to lock the smaller strips in place. Is this how it’s done? Am I missing something important?
Here’s my other question(s): Will this look stupid? Is this in an appropriate location? Right now the strip would appear about 8” above the waterline at station 0, and about 14” above the waterline at station 6. (the waterline is the light blue line under the clamp)

Opinions? Criticism? Ridicule? I'm open to suggestions. Thanks!
--Mike“It doesn’t matter how slowly you go -- so long as you do not stop.”
-ConfuciusComment
-
Re: Build-A-Bear, mountain-style canoe
Be very careful about where you place your accent strip. If you look at my thread, redbird progress i think it's called, probably at the bottom of page 2 or 3 by now, So much for progress, you'll see where I placed my accent stripe. I look at it now and think if I could redo it, I'd place it one strip lower,or closer to the sheerstrake. I may reassess that judgement once I have the outwales on and the boat closer to completion but I think my accent stripe might be one strake too low on the upright boat. Be sure you take into consideration the fact that you'll have outwales on covering the first and at least part if not most of the second strake at the 0 stn mold location. None of this is critical. The boat will obviously still float but it's the aesthetics you're after and really that's one of the reasons we do this right? Give it some time to sort it's self out in your head, plan it well and then think abit more. Then go ahead and don't worry if it doesn't come out right. It's not a piano right? If one advances confidently in the direction of his dreams, and endeavors to live the life which he has imagined, he will meet with a success unexpected in common hours.
-Henry David Thoreau-Comment
-
Re: Build-A-Bear, mountain-style canoe
A repeating geometric pattern can look really sharp, but I think you'd want to put some time in with a graphics program of one kind or another to work it out. Here area couple of examples:

In place of that duck, you might just want to shave down that annoying little helper of yours and glue him in there for all times sake.
 -Dave
-DaveComment
-
Re: Build-A-Bear, mountain-style canoe
Well, here's a few bits of light reading for you... This, this, this this, this, and finally this.

There are two major ways of making feature strips. Because you are cove-and-beading your strips, one way is to build it up from pieces of cove-and-bead stock of various colors and widths. If you do this, you'll need to make two symmetrical strips on the boat. Alternatively, you can glue up a feature strip from solid stock that is about 3/4-7/8" thick and a maximum of about 1-1/2 to 2" tall (Depends on hull shape and length - the wider the feature strip the more difficult it is to get it to lay against the curved shape of the forms and to twist it into shape - if too wide, you can get bad "flat spots".) Once you've got the feature strip assembly that is 3/4" wide, 1-1/2" tall and a bit longer than the hull, you rip it to get two strips and mold it with cove and bead features to match your stock. Be aware as you build the assembly, you will lose a portion of the "face" to the bead cut - you will need to allow for this to avoid an asymetrical feature strip.
The arrow detail is neat, but don't make it from a single strip - make it from two - just with mirror cut bevels. Works like a charm.
I'd use basswood or very blond poplar instead of the white pine - while the white pine will work, if you choose to use it look carefully for pitch pockets and avoid them. Instead of mahogany, we use Spanish cedar - it looks a lot like mahogany in grain and color, is a bit lighter and cheaper and is a bit softer. If you put hard wood (I avoid saying 'hardwood' - basswood and poplar are technically hardwood) next to soft woods, the softwood will sand away more quickly during the fairing process and can leave low spots adjacent to the hardwood. look for colors and contrasts that will really "pop" when glassed. Oh, and don't put the feature strip so close to the sheer that it will be shadowed or hidden by the gunwales when applied."The pessimist complains about the wind; the optimist expects it to change; the realist adjusts the sails."
-William A. WardComment
-
"The pessimist complains about the wind; the optimist expects it to change; the realist adjusts the sails."
-William A. WardComment
-
Re: Build-A-Bear, mountain-style canoe
Hello Mike,
I found this on a Dutch forum and had it translated by Google Translate ;-)
Hope it helps,
Paul
--------------------------------------------------------
Wood inlay’s
Your canoe or kayak with a wooden inlay is a labour intensive job but gives a very satisfied feeling once it is ready. It is definitely worth the extra time to spend. Whether you're making a simple or more complicated inlay, it is and remains an eye-catcher.
There are several ways to make an inlay each with their own specific characteristics. I will describe below the 3 most usual inlay's all that I've applied in the construction of my Voyager;
Inlay during construction
Inlay during construction is by far the simplest and least labor intensive inlay. It is the inlay that you create during the building of the hull. The disadvantage of this inlay is that it must be a relatively simple figure and can be applied only to the wood-strip method.
In this method, you simply create a part of the wood-strips of another wood type (color), which gives you a kind of striping that gets into the side or bottom of the canoe. Remember or find a picture that you want to apply as inlay.
Do this before you start your Canoe and note that the seams where the different wood types (colors) comes together have an angle of between 15 ° and 45 ° otherwise the weld joint is too weak. An inlay of more than 4 slats is very busy. The best part is between 2 and 4 slats.
Draw the picture on paper (scale 1: 1). Find a few attractive contrasting wood species for the inlay. Saw all components. Create a saw mal, so that the oblique angles are exactly the same (Photo 01 and 02). Glue the parts to each other so that you get back a complete "woods trip". If you have already finished your strong back, this is an ideal work bench (Photo 3). Foresee the new trips of a woods hole and a scoop. This can be done simultaneously with the milling of the normal woods trips.
Please note that at the planking of the fuselage that you begin on time to your inlay. Not too soon because then might runs later the gunwale by the inlay, and not too late for then is the inlay (partly) under water. You can scour the inlay along with the rest of the hull (photo 04).


Inlay afterwards
Inlay afterwards is a slightly more complicated inlay. The inlay or a in which the figure is inconsistent with the wood strips, can you identify this retrofitting. The inlay remains, as with the previous inlay, to both the outside and the inside visible. It goes without saying that this inlay takes more time and that there is still work to be more accurate. All in all, it is with a bit of patience to do good.
Search again a picture from which you want to use for the inlay. In my Voyager I opted for a compass rose. Drawing the picture on paper (scale 1: 1) Search a few beautiful contrasting wood species for the inlay and sawing the wood for the picture on thickness. Saw the wood 1-2 mm thicker than the wall thickness of the canoe.
Create the figure separately from the canoe and make it ready. When sawing the components use as much as possible saw malls, so that the different angles/forms are identical (Photo photo 05 and 06).
After the hull of the canoe is completely close (all woods trips are made), draw the figure on the hull (photo 07).
Now comes the most critical moment: saw the picture in the fuselage. Let the signed lines. Barn, file, plug the hole further tailor the image until it fits exactly into the hole. Take your time. A large opening gives afterwards an ugly seam (Photo 08).
Now glue the picture in the hole and let it dry thoroughly. Make sure that the figure to both the inside and outside stick a bit out so that you can still scour (photo 09). After sanding the inlay is ready.
The epoxy makes the whole thing again firmly (Photo 10).
Unilateral inlay
To create a inlay f.i. "text", "a Dolphin", "an eagle" etc. in the canoe that the best you can do so at their own discretion. You can download the inlay than just on the outside. With this method, you can insert the most beautiful pictures. It goes without saying that it is very labour intensive and you very accurate. In my Voyager I laid on both sides of the bow an Indians head.
· Search (eg on Internet) again a figure (picture) what you want to create as inlay. How detailed the figure, the harder you make it yourself.
Identify where you are going to use wood and cut them in strips about 3 mm thick and less than the width of the woods trips.
Sand off the hull smooth.
· SRI carbon paper drawing the figure on the hull of the canoe. You can best do if the kayak is upside down on the mold is. But watch out that you also figure on its head (photo 11 and photo 12).
· Cutter now with a small side cutter (I used a Makita 3707F) part of the figure out what should get the same color (2 mm deep). In my example I have all milled out what "red" should be (photo 13).
· Glue a piece of transparent paper (tracing paper) on the drawing on the trunk and take this to the milled portion of the figure and on the seams of all trips Woods (photo 14).
· Draw with the lime-drawing each slat and cut it off carefully with a jigsaw. Unclean, files, etc. to fit exactly right.
· Glue the lath made in the hull. Possibly slightly terminals. When the glue is aangedroogd make the next piece ready etc. etc. (photo 15).
· When all pieces are made to shed up this part of the "inlay" smooth with the hull.
· Paste again drawing on the body and draw the next part of the back inlay on the body using carbon paper.
· With a new piece of paper, chalk this area including the seams of the woods take on trips.
· Cutter now this part and fill it back in the same way with the following type of wood (photo 16 and photo 17).
· Repeat depending on the complexity of the figure until it is completely filled.
· The inlay is ready (photo 18).
A few general tips;
· If necessary to test piece if you're unsure whether it will succeed.
· Always use sharp tools and which avoids a lot of disappointments.
· Make sure you are well prepared before you start, so you do not find out halfway through that something is impossible. Then it may be too late.
See remaining pics in following posts.
Regards,
PaulAttached FilesLast edited by Popol; 03-20-2011, 07:50 AM.Comment

Comment